
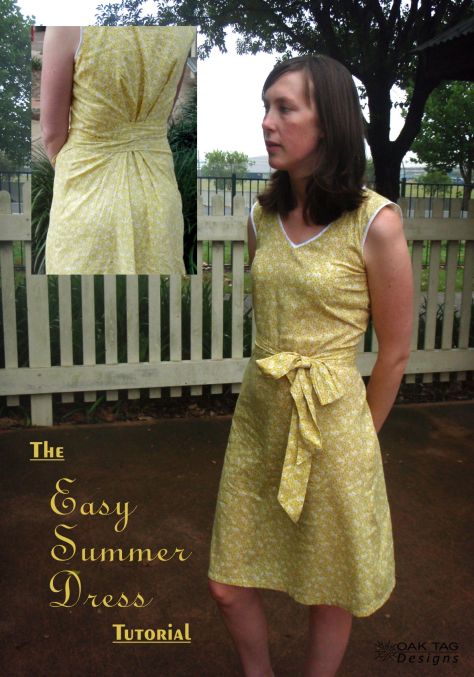
So.. I know Oak Tag Designs is about kids patterns, but sometimes Mum needs something too. And here it is!
The Easy Breezy Summer Dress is a very simple -no pattern needed- dress that shouldnt take very long to make. Variations can be made depending on your style, and embellishments can be added too. Its fit means that you can wear it even if you find your weight fluctuating. And best of all, its flattering!
Can be dressed up and down, and really is perfect for all those end of year events.
What you will need:
- Lightweight cotton (or blend) weave. Your size and length requirements changes your fabric amount. For the length of fabric, measure from your shoulder down to the length you want, double, and add approx. 30 cm. For knee-length, allow approx 2.3 m. For full length maxi, approx 3.3m. If you are a size 12 (Australian sizing) or smaller, a 110cm width will be fine. If you are above a Size 12, then use a wider fabric. For a maxi dress, a wider fabric (around 150 cm) is recommended, to allow the width at the bottom.
- Approx 2m of 16mm bias binding (if it is a slightly different width, that will be fine)
- matching thread
- any embellishments (or fabric for a contrasting band).
- A loose top (most preferably in a weave) that fits you well.
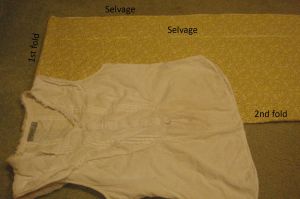
To begin, fold you fabric so it becomes half the length.
Next fold in one side (two layers of selvage) so that they are about 16cm from the other selvage side. The 16cm is the fabric for the ties. If you are making a larger size and need all the fabric, you may decide to use a contrasting fabric for the ties.
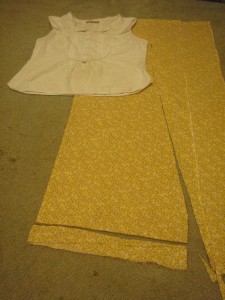
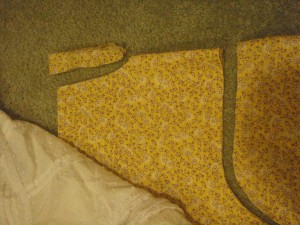
Fold your top in half and place it down on the fabric so that the fold is on the most recent fold, and the shoulders are on the top original fold. I have opened it back up in the photo to make it easier to see.
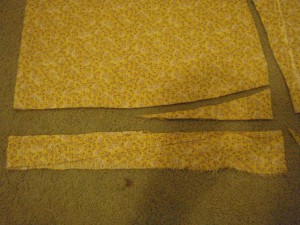
Use your scissors to cut from the bottom of the fabric (on the right, where the 4 layers start) right up to the top as shown. This photo is showing a knee length dress. If you want a maxi, it will probably start out wider. Once you are close to the top, cut next to it, but out a couple of cms to allow for the seam. Continue to the armhole, cut around it, and up to the shoulder. Be sure not to cut along the shoulder.
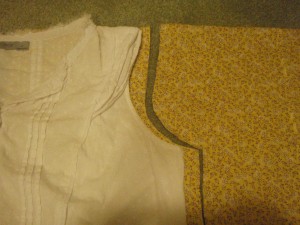
Correct the bottom so that it is 90 degrees to the side fold of the dress. Then cut a curve back towards the fold. The wider your dress, the higher the curve should be. For a knee-length dress, like the one shown, about an inch up should suffice. If you feel less than confident about doing this, leave it straight to be cut once your dress is more complete and can be tried on.
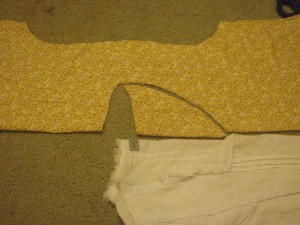
Next cut the neck. Cut through all 4 layers copying just the back of the neck.
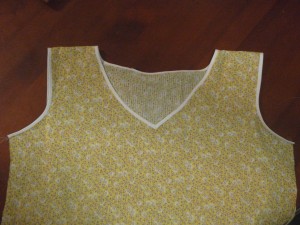
Unfold all the layers and then fold just down the middle of the dress. Now cut one end of the neck to be the front of the neck. You can cut it as a V-neck, round neck, or boat neck as you desire.
Very important at this stage to put it over your head and check that it fits! Nothing quite like trying to jam a too small neckhole over your head!
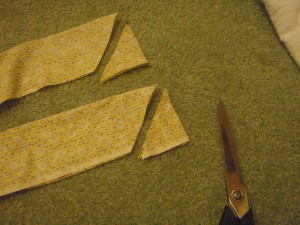
From the remaining part of fabric, cut two long straps. They should each be approx 16cm wide and around 110 cm long (longer for a bigger dress size). Fold them right sides in (so they stay the same length but become skinnier, to approx 8cm wide) and cut a diagonal on one end of each of them.
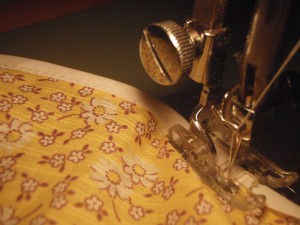
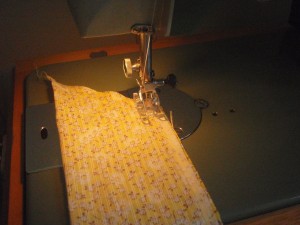
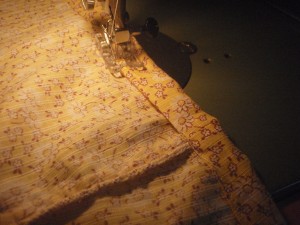
Next, take to the sewing machine and bias bind the neck and armhole edges. Im not going to go into detail about how to apply bias binding. If you’re not sure, google a tutorial on this. One tip I will say is ALWAYS manipulate the bias and try to keep the fabric perfectly how it was cut (ie. dont stretch it!). If you dont do this, it will end up warped and uneven and possibly wavy!
Next, turn you garment inside out and sew down the 2 side seams. Then overlock. If you don’t have an overlocker, use zigzag close to the edge, or if possible, use a french seam. I may just be pedantic but once you have sewn the seams, it is advisable to sew them down under the arm, just for around 1 cm. Makes it more comfortable and secures the seam, so it won’t start to unravel.
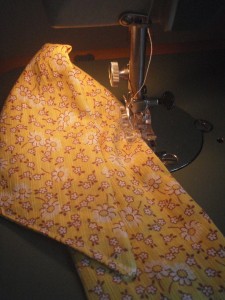
Next sew your straps. Sew from the diagonal across and down to the other end, leaving the straight end open. Turn in the right way. Then topstitch all the way around where you had just sewn. Topstitching is your choice, but it is very helpful in keeping the straps flatter after washing. Also helps with ironing if its needed.
Next try on your dress. It should look a bit potato-sack like. If so, good! Next you need to mark (preferably using pins) where your waist is at the sides. Take the dress off, and mark in towards the centre back around 10 cm from the marks you made. This is where the top of the straps will go. Fold about an inch of the raw end of your straps down and pin onto the garment. They should be pinned so that the tail of each strap goes towards the centre back of the dress. Stitch on in a large rectangle. To secure them more, you may sew inside the rectangle.
Retry your dress on passing the strap around the back and then to the front where they can be tied up. Check the bottom of your dress. Is it the right length? Does it look even around? Try to get someone to help you if it isnt, by pinning it while you are wearing it. A good hem is the same length off the ground all the way around when you are standing.
Back to the sewing machine, and sew up the hem. I like to fold it twice up for a nice clean hem. If you are not used to sewing hems, it is a good idea to pin it (and even iron) before you do. If you dont, you can end up slowly pushing the fabric across each other as you sew, making you end up with extra fabric in the last bit. To pin it, start at the seams, then pin it in quarters, eighths etc, and that will keep it even.
And there you go, all done!!
Now you can flounce around the house looking pretty.
I do recommend washing and drying and ironing before you wear it out. Gets rid of any starch (particularly in the binding), or fold marks.
I would love to see some dresses made 🙂 I know I will be making more than one….


